Hi, My name is Enrico Silva and I am a cinematographer and 3D artist.
In this demonstration, I'll delve into the nuances of lighting for various skin tones and shed light on the interplay between glossy and diffuse lighting in cinematography. While 3D software, like the one I'm using here, has its limitations, it offers a useful platform to convey essential live-action concepts accurately.
Glossy vs Diffuse Lighting
To understand the impact of lighting on a scene, it's crucial to recognize the ways light interacts with the world around us. Two of these types of lighting, "Diffuse" and "Glossy", play pivotal roles in how we can light a scene (both in live-action and CGI).
Diffuse Lighting: The light that is absorbed by an object (Influenced by the color of the object)
Glossy Lighting: The light that is specularly reflected from an object. (NOT influenced by the color of the object)
Let’s dive deeper and explore how these two types of lighting interact with the subject.
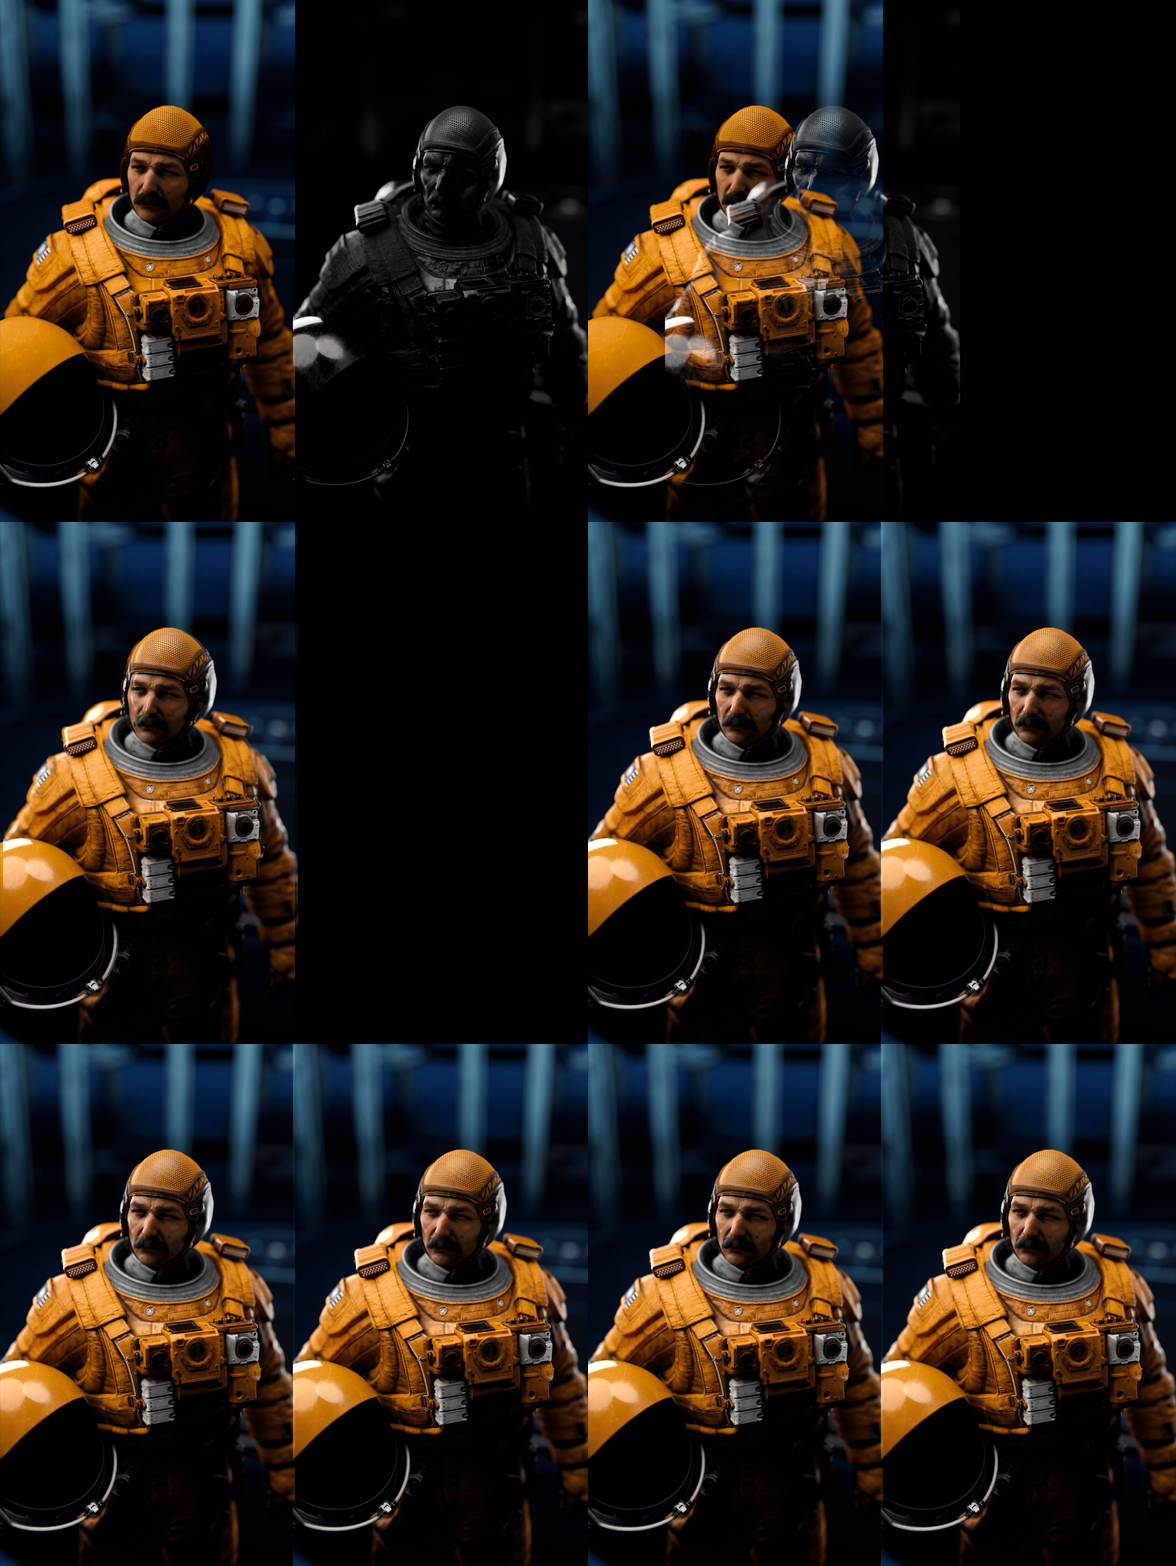
In the left image above, you can see the scene is being lit by white lights. Both Diffuse and Glossy light passes contribute to the scene's illumination.
In the middle image above, we've turned off the Glossy light rays, leaving only Diffuse white light to interact with the objects. (Notice how the reflections on the helmet and face have disappeared) Only Diffuse white light is landing on the astronaut and the surface of his suit and skin absorbs certain wavelengths and bounces back all other wavelengths. Our eye perceives those wavelengths which are bounced back. For example, the white light lands on the space suit and absorbs every color except for yellow. That is why the spacesuit looks yellow.
With Diffuse rays turned off and only Glossy rays interacting with the objects (Above, Right), we observe that Glossy light isn't influenced by the object's color. It maintains the original light's color, and the angle of reflection affects the strength of Glossy rays. The previously bright yellow suit now only reflects white light.
In the image to the right, you can see how the Diffuse and Glossy light passes combine to create the original image.
Changing the light color in the same scene showcases the distinct reactions of Diffuse and Glossy light passes to light color changes. Below is the same scene lit by a single Cyan light.
If we isolate just the Diffuse light pass we get the result in the middle. It is strange that the resulting colors we get on the spacesuit are now no longer yellow or cyan. How is this possible. Interestingly enough, the calculation for the resulting Diffuse color can be calculated using simple math.
First, let’s briefly (very briefly) touch on how pixels on a screen work. The screen you are currently reading this on is made up of tiny lights that can emit either Red, Green or Blue light. Depending on how bright each one of these colors is for each pixel, our eye perceives it as a certain color. For example, a pixel that has the Blue and Red channels fully illuminated, but the Green channel off, will look Magenta to our eyes. Now lets assume that we can attribute the brightness of each of these colors to a decimal between 1 and 0. 1 is fully bright, 0 is off.
In the original image of the Astronaut under white light, the pixels on the suit are lit up as: R=0.8, G=0.6, B=0.1. The resulting color our eye sees is the yellow pictured above.
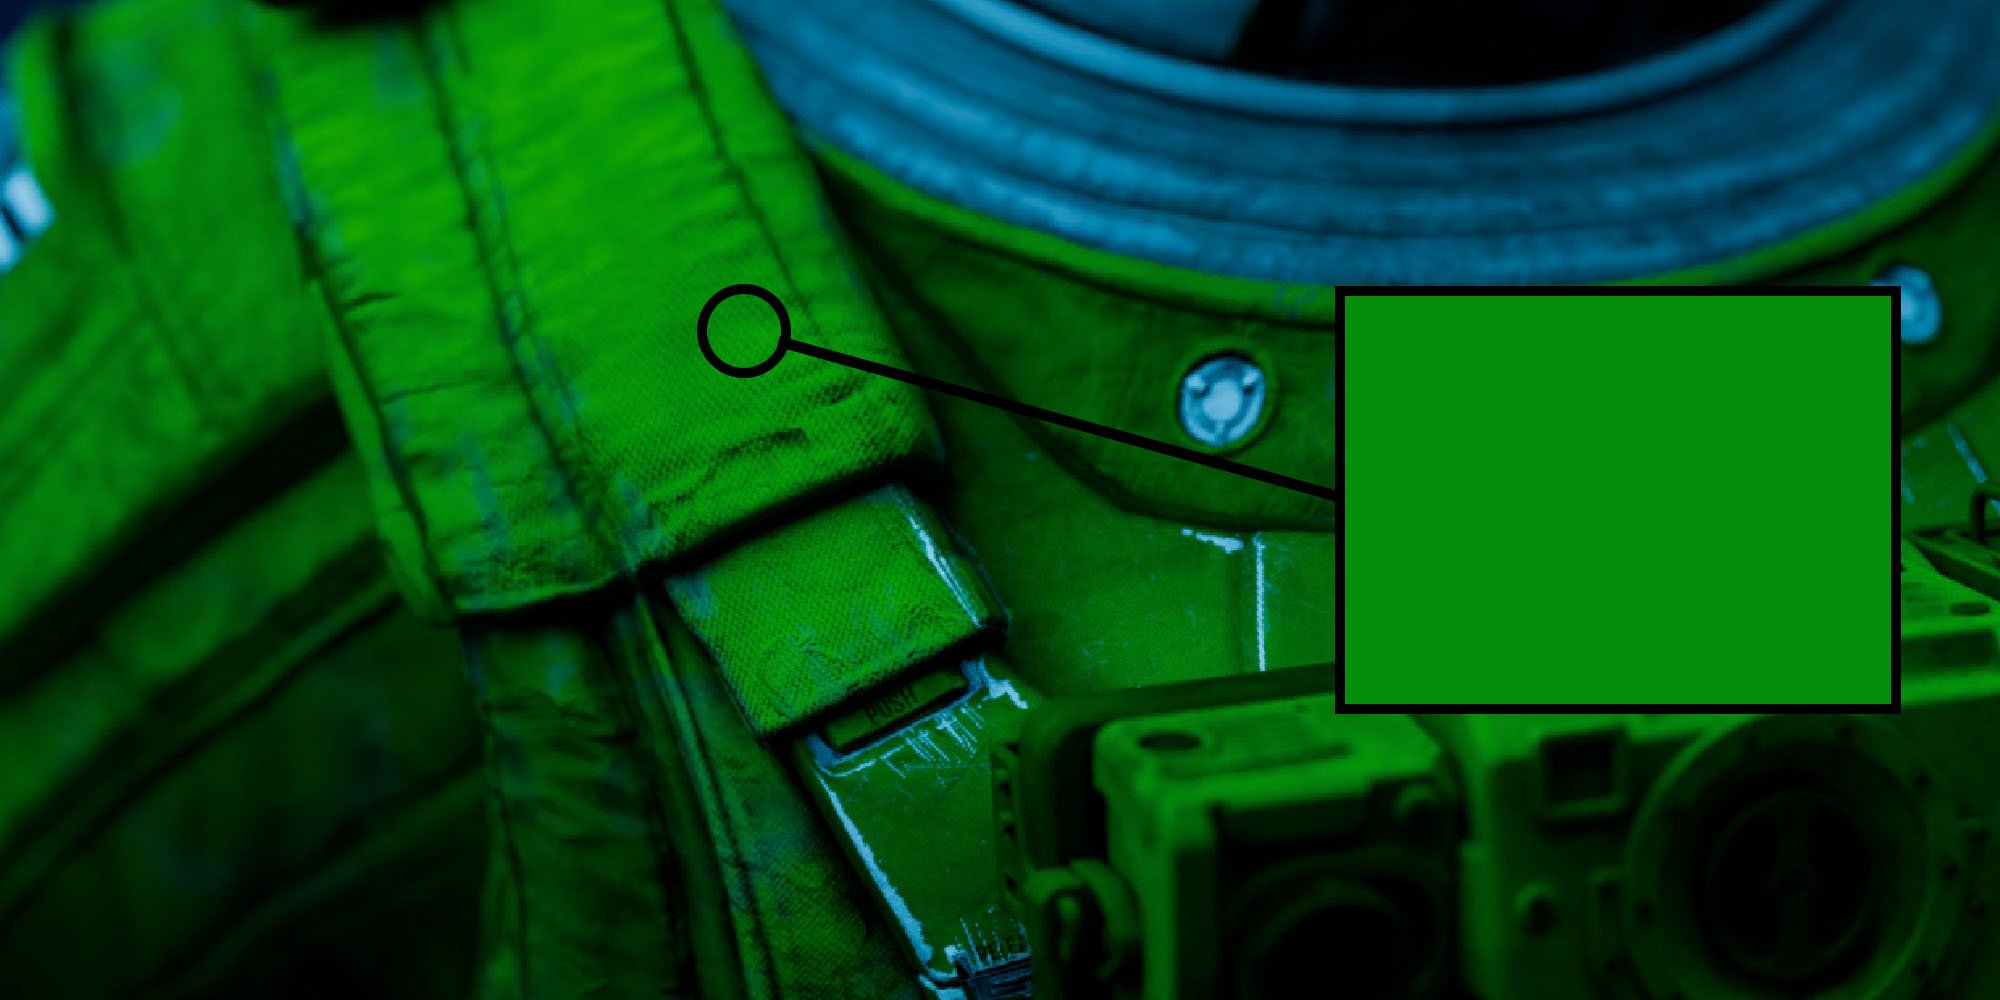
Now, back to the astronaut under Cyan light. How can we calculate the color of the diffuse light landing on his suit? In order to make this calculation, you simply need to multiply each RGB channel of the color of the suit, by the color of the light.
In the above example, the color of the astronaut’s yellow suit is multiplied by the color of the light. For each RGB channel, we multiply the two numbers
Suit: R=0.8, G=0.6, B=0.1
Light: R=0, G=0.5, B=1.0
Result: R=0, G=0.3, B=0.1
As you can see by the resulting RGB value, R=0, G=0.3, B=0.1, the astronaut’s yellow suit should look green-ish under cyan light. If you look at the astronaut’s suit in isolation, you can see it for yourself.
On the Glossy pass, all objects reflect the same color, which is the color of the light, cyan.
In summary, Diffuse light passes are influenced by the object's color and brightness, while Glossy light passes are unaffected by these factors.
Lighting for Different Skin Tones
The concept of Glossy vs. Diffuse lighting applies to skin tones. The actor's skin color affects the Diffuse pass, but not the Glossy pass. Darker skin tones require more reliance on Glossy or reflective light to achieve proper exposure as compared to the set and props in the scene.
The example above illustrates how the same lighting setup is used for two different skin tones. The separation of Diffuse and Glossy passes highlights the impact of skin color on the lighting dynamic. Notice how the Glossy light pass is fully unaffected by the skin tone.
Collaboration with the Hair & Makeup team is crucial for cinematographers. The makeup applied to the actor can significantly impact the Glossy lighting in the image. The image with sweat/dirt makeup applied exhibits more Glossy light, offering a distinct look for the scene.
This same technique can be applied to a naturally lit dusk scene similar to the reference from Moonlight. The actor does not need to be lit directly by the sky, but if the skin is glossy enough, it can reflect the sky itself and give a properly exposed image.
Understanding the interplay between Glossy and Diffuse lighting is essential for cinematographers when lighting scenes, particularly for different skin tones. Collaborating with the Hair & Makeup team can further enhance the impact of lighting in achieving the desired cinematic look.


